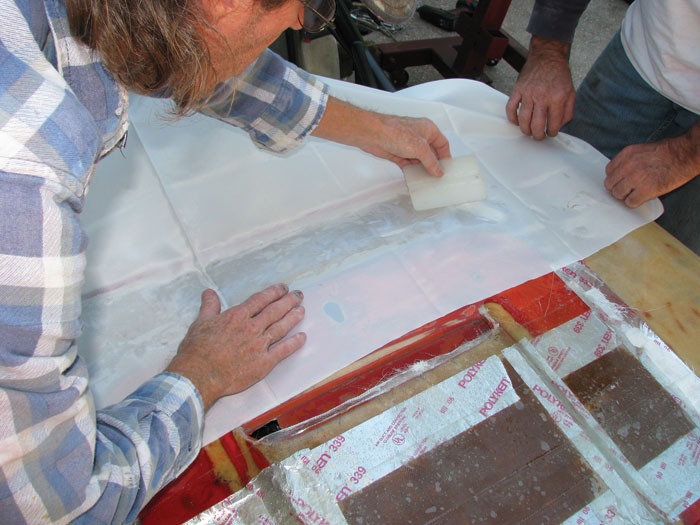
How to apply fiberglass cloth? Fiberglass cloth is a tightly woven fiberglass material typically used in marine and composite construction and repair applications. The cloth is lightweight and quick to apply. Once applied, it creates a strong, rigid waterproof layer as well as a smooth surface suitable for painting. No matter the size of the project, the application of the cloth is essentially the same. Applied with the aid of resin, fiberglass cloth creates a durable, lasting surface.  Now we introduce how to apply fiberglass cloth.
Sand the surface of the object to which you’re applying the fiberglass cloth. Use fine grain sandpaper to create a smooth surface that will take the cloth easily. Brush the surface with a large brush to remove the sanding residue and then go over the surface with a wax-impregnated tack rag to make certain it’s completely clean.
Use a rotary cutter to cut fiberglass cloth to fit the object that you’re covering. Make the cut so that the cloth is slightly larger than needed to leave room for any necessary shifting of the cloth during placement. Cut the cloth on a cutting board, using the rotary cutter blade to smoothly cut the cloth without causing tears.
Mix a batch of resin in a bucket according to the manufacturer’s instructions. Use enough to cover the object, The resin serves as both an adhesive for the cloth and as a filler for the cloth pores to provide the watertight surface. Wait about three minutes after mixing for the resin to catalyze.
Brush a coat of resin onto the object to be covered. Apply a thin layer of the resin along the entire surface of the object. Wait 30 minutes for the resin to cure.
Apply fiberglass cloth onto the object, taking care not to allow bunching or wrinkling to occur. Place the cloth so that it overlaps the sides slightly, about ½ inch.
Pour the resin over the cloth, slowly covering the surface of the cloth. Spread the resin over the cloth in a thin layer, working from the center of the cloth to the edges. The resin will seep through the cloth and bond it directly to the object. Try to maintain an even layering of the resin over the cloth, but build up a slightly thicker resin layer along the edges to prevent the cloth from peeling away.
Wipe away any excess resin on the cloth with a squeegee. Allow the resin 30 minutes curing time before continuing.
Use the rotary cutter to trim away the excess cloth from the edges of the object. Sand the ends of the cloth until even with the surface of your object.
Apply a third resin coating over the cloth using a brush to spread the resin in place. The third coat fills any pores between the fibers and only requires a very thin layer for effectiveness. Wait 30 minutes more for curing.
Brush a fourth layer over the cloth as a finish layer to build up enough of a resin coating for sanding purposes. Allow this final coat to cure for 24 hours.
Sand the resin covered cloth smooth, removing any imperfections left by the resin application. Wipe the fiberglass cloth down with tack cloth to remove the sanding residue.
Article Source

